Guide to Production of Apulian Orecchietta
We had the pleasure of hosting you and handing down the tradition of Salento and the “Pugliese” art of our famous handmade pasta: the Orecchiette, a knowledge that you’ll bring with you and maybe you will reproduce at home with your friends and relatives.
For this reason, we have created this mini-guide that summarizes the salient aspects of the production, that you experimented with your hands.
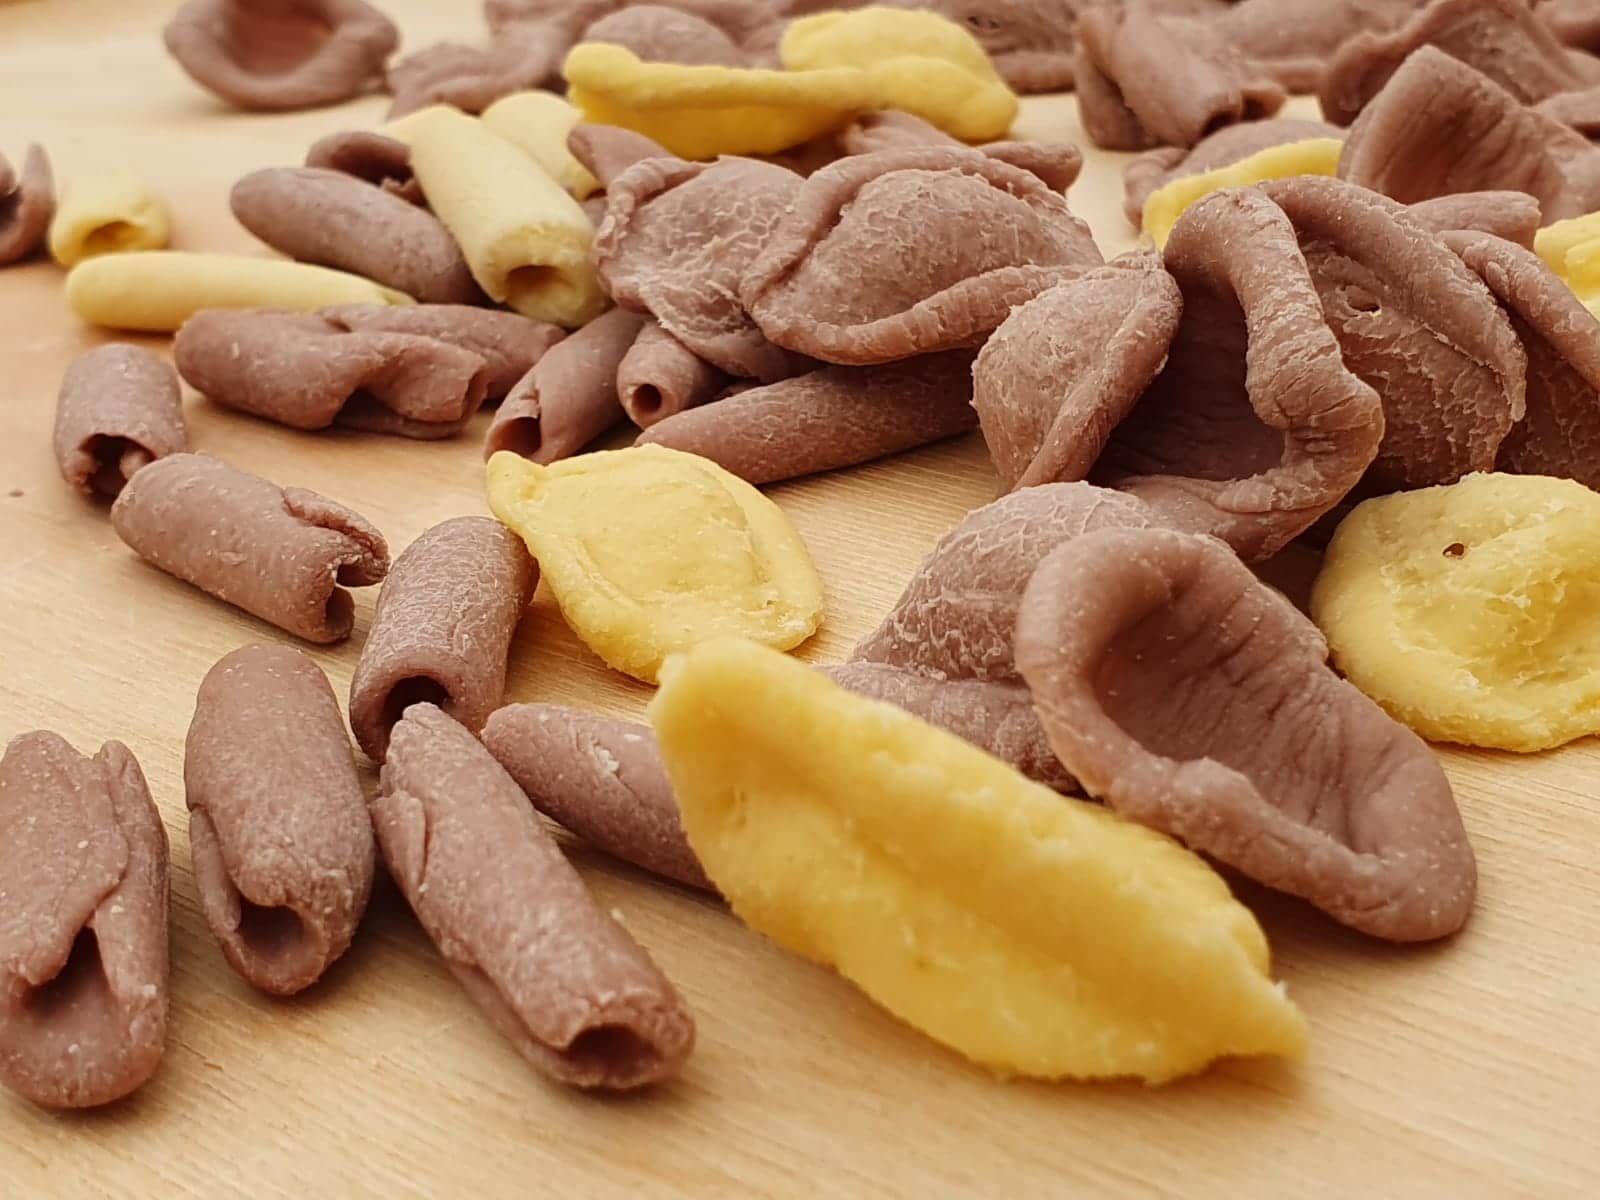
Let’s begin with the main aspect: the aesthetic color of the “orecchietta” (singular) is of that intense yellow, typical of the special durum wheat flour, called Semolina flour, result of mix of the three different local grains: semito, quadrato and Senatore Cappelli. The last one is a very ancient local grain, now revalueted that has the characteristic of producing 50% less gluten, being in this way more healthy.
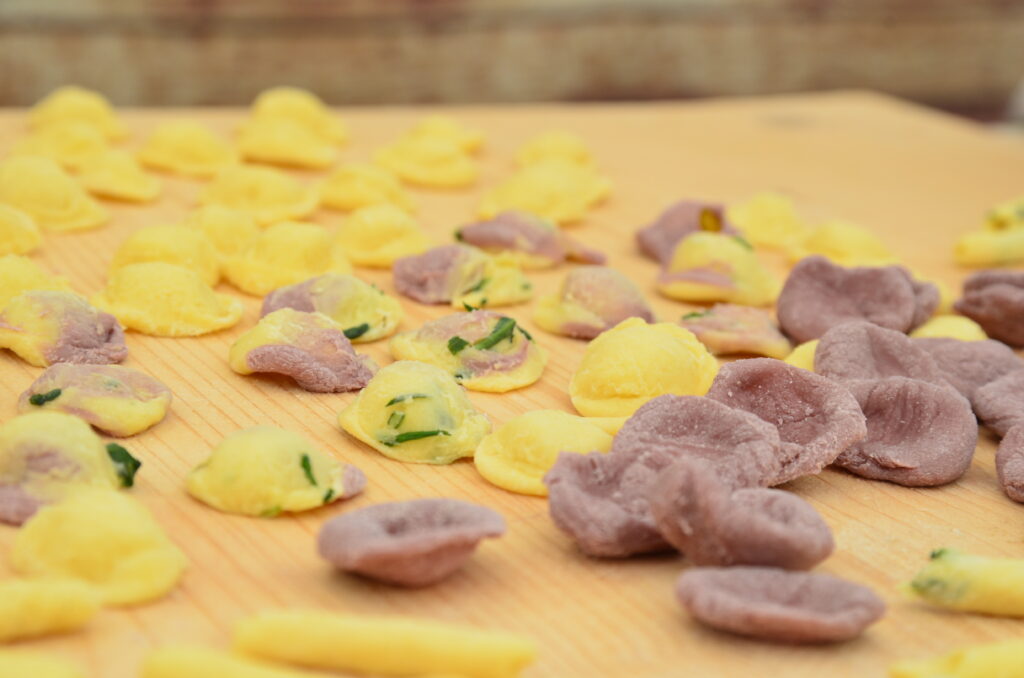
Very important is the porosity of pasta that in the hand-made version is much more evident and marked. The form: they have the grace to be each little bit different from the others. We believe that their perfection consists in their imperfection: real pieces of art that also testify the love of whom produce them.
Not as final point is that unique taste due to the mix of wheats of our land of Puglia and the passion of our our grandmothers and mothers, who with their marvelous manual skill are able to give life to these real masterpieces.
An explosion of smells and colors and a mix of emotions, between flying flour and the scent of traditions. Authentic emotions that we love to share with you!
And now let’s move to practice with the ingredients and the procedure to make homemade Pugliese orecchiette.
The Ingredients X 4 persons:
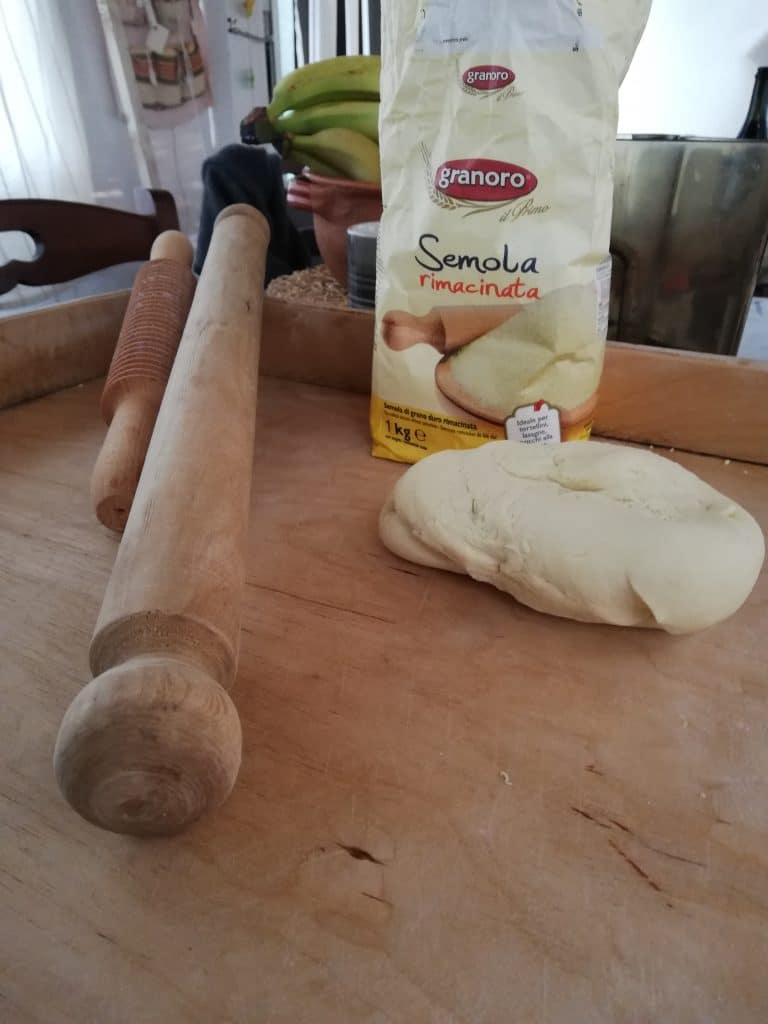
A pastry board, a serrated knife, 500 gr. durum wheat flour (at the end of the article you’ll find a list of Apulian semola flour you can buy on internet); 1 dl of lukewarm water. Don’t forget the ingredients of love, passion and a lot of patience.
The Procedure:
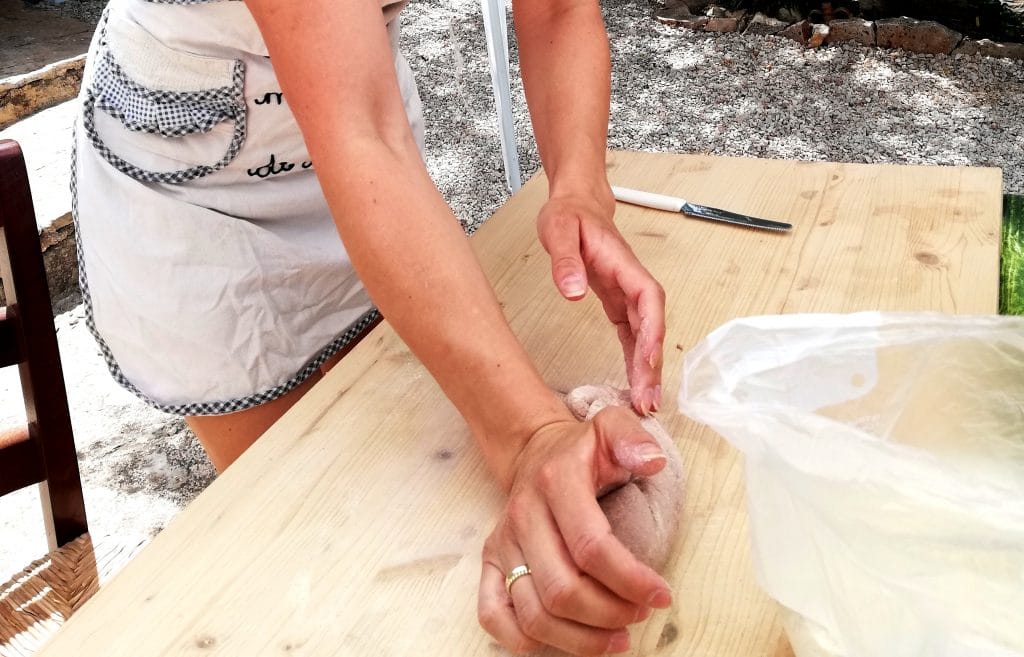
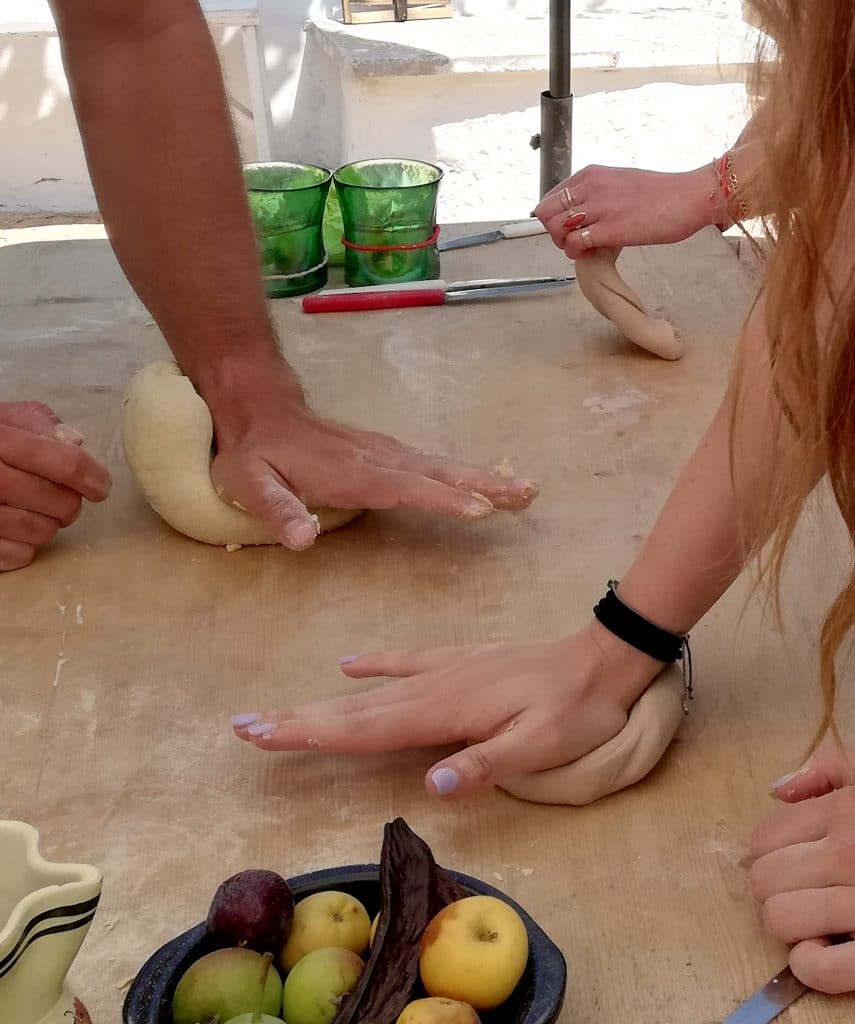
– pour the durum wheat flour on the pastry board, create a fountain with it and a large hole in it (as the mouth of a vulcano) add the water little bit of water and cover it completely. Mix it from below. Continue to procedure (create the fountain and the vulcano, a large hole, add water, cover and mix it) till all flour is mixed and after start kneading it.
Remember the influence of the wind so that you have to measure the quantity of water depending on the wind and the humidity of the day;
– work the dough for about ten minutes, using the lower part of the palm of your hand to press and drag the dough on the pastryboard, and continue until inside you’ll see tiny bubbles: you should get a rather firm and smooth dough. If the dough results too hard, add some water; if instead it results to be too soft, add more flour until obtaining a good consistency. Always keep the flour close to your hands to be poured in small dices on the pastry board if necessary to allow the dough to slide well. A secret: moisten your hands a little to prevent the mixture sticking to the hands.

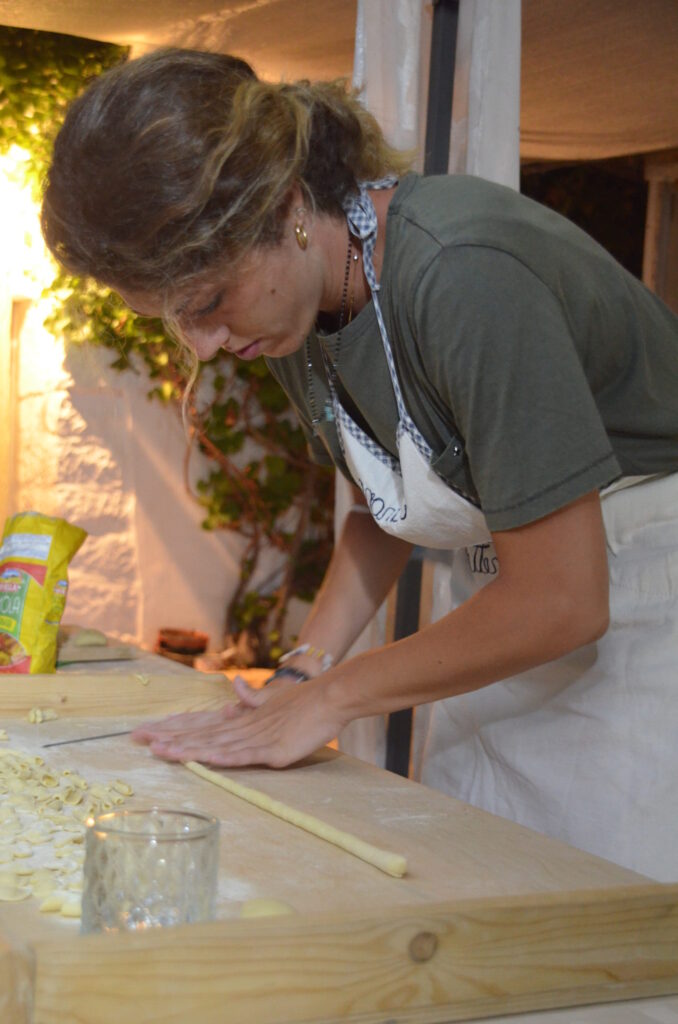
– once you have finished kneading, cover the dough with a damp cloth to prevent it from drying out; start immediately by cutting a piece of dough and roll it under your hands on the floured surface of the pastry board until you’ll get a long snake that you’ll put on the upper part of the pastryboard;
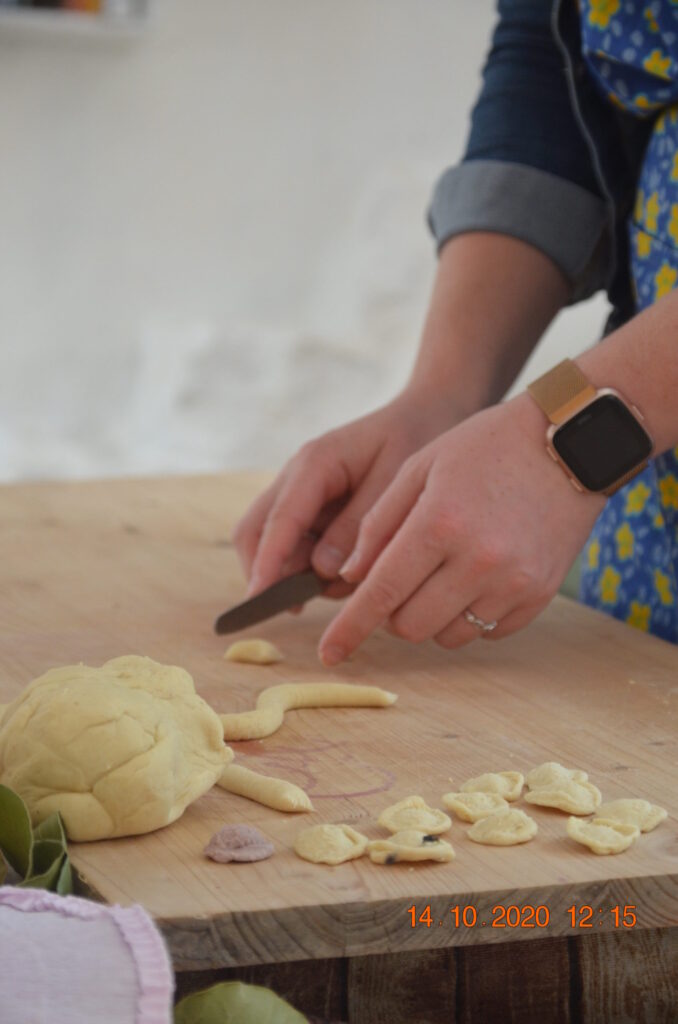
– Cut from the snake a small piece, more or less one centimeter long (it is indicative. You can use more pasta and get bigger orecchiette.) Experiment at this step for new experiences :-);

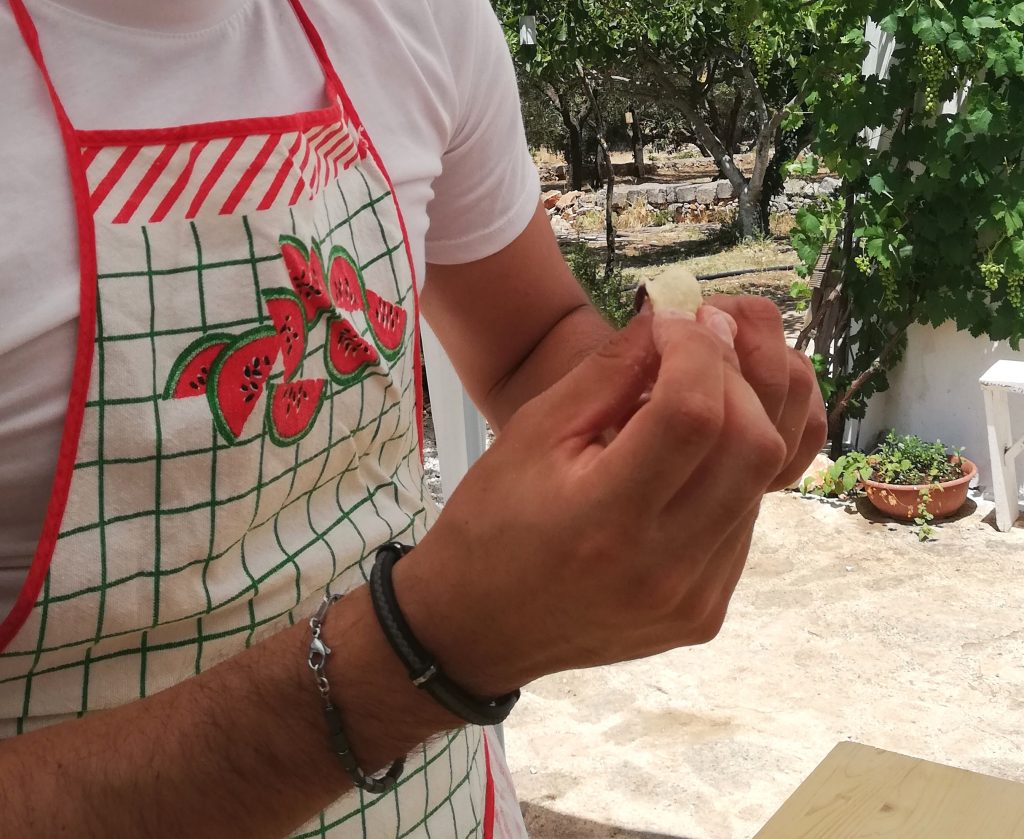
– with the rounded tip of the knife and with a not very strong but firm pressure, drag on the pastry board the piece so that the dough, curving, becomes similar to a shell. The knife accompanying the pasta will produce those typical striations of the orecchietta.
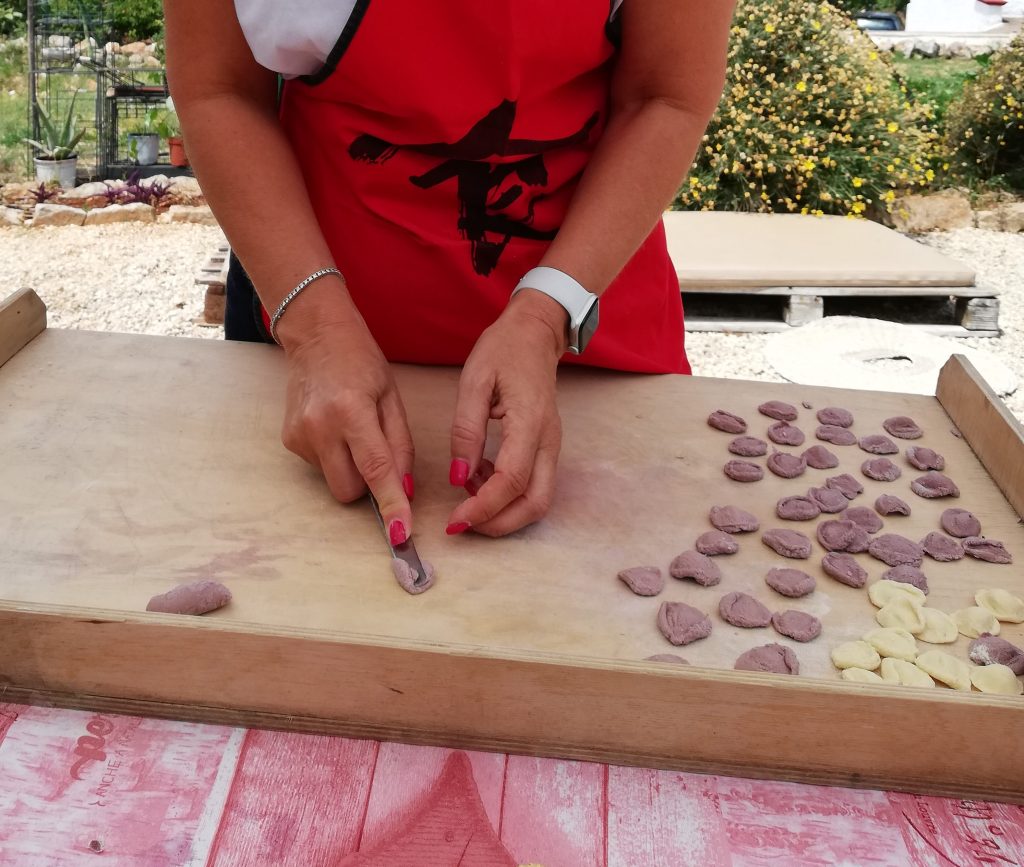
– without removing the dough from the knife but helping with it, place each shell on the tip of the thumb and reverse it backwards using the middle finger and the forefinger. At this point the knife helps you only not to loose the piece;
Remember to be gentle with the dough and to measure the pressure to put not to cut it.
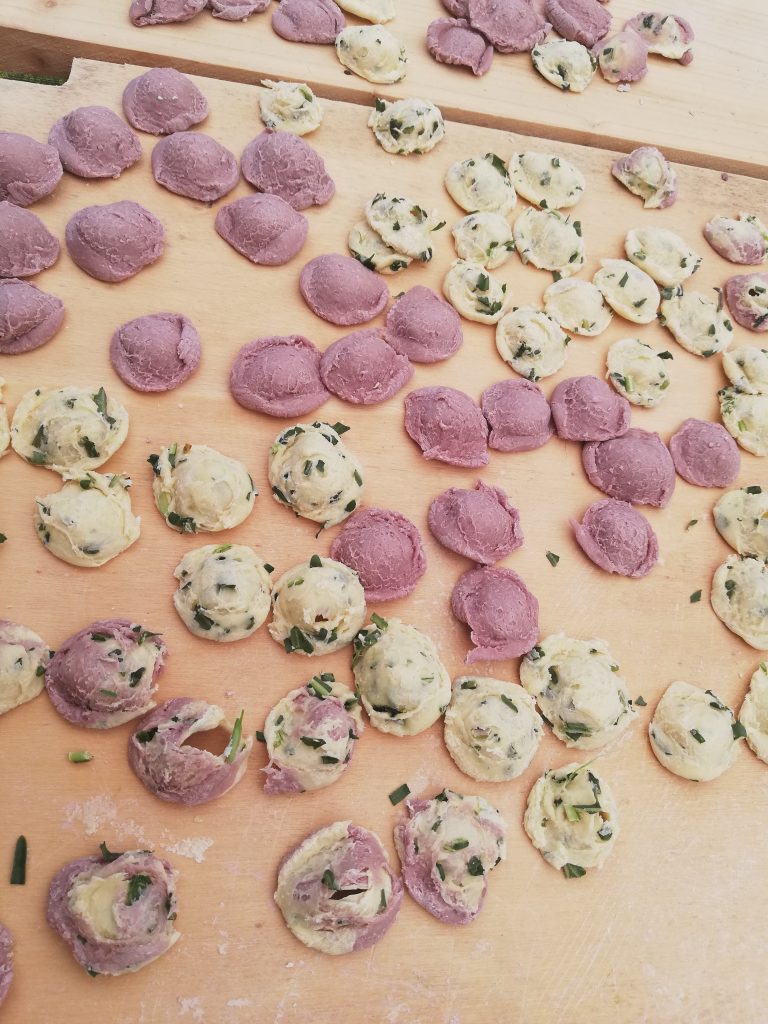
– the final result will be the orecchietta which you will arrange next to each other, without keeping in touch with concave shape up not to become flat;
Remember: the correct position of the thumb will give the concave shape, so important because it collects the sauce that will contribute to a fantastic taste!
– continue until you have finished all the dough. The advice is to prepare this wonder pasta t early in the morning to let them slightly dry. You can also keep for few days and will be more callous when cooked. If you want to conserve the pasta longer, after they’re completely dried, you can put into the freezer.
Once these little “jewels” have been created, it’s finally time to cook them; and respecting our tradition which dish could we recommend? Yes, we cook the famous orecchiette with turnip greens, or with fresh tomatoes and basil, or with the addition of anchovies preparing them in a sauce of bread crumbs made toasted in extra virgin olive oil, another wonder of our tradition.
Buon appetito!
Related articles: